
We needed more space; Yvonne for her garden tools and supplies, me for a shop.
in January 2007 we’d moved to 240-acre Crane Island just across Pole Pass from Orcas Island and Deer Harbor a bit over a mile away. Our property in Deer Harbor had included a large boathouse we used for a shop and storage and we’d nearly filled it with Orcas garage sale treasures. Yvonne’s moving sale had made a dent but we ended up taking too much with us to Crane Island.

Over the next year I converted the attached two-car Crane garage to a studio/office/guest room/loft. We now had plenty of living area but all our garden and shop materials were stored in a 10’ by 20’ Costco tent/garage and that wasn’t convenient or attractive.
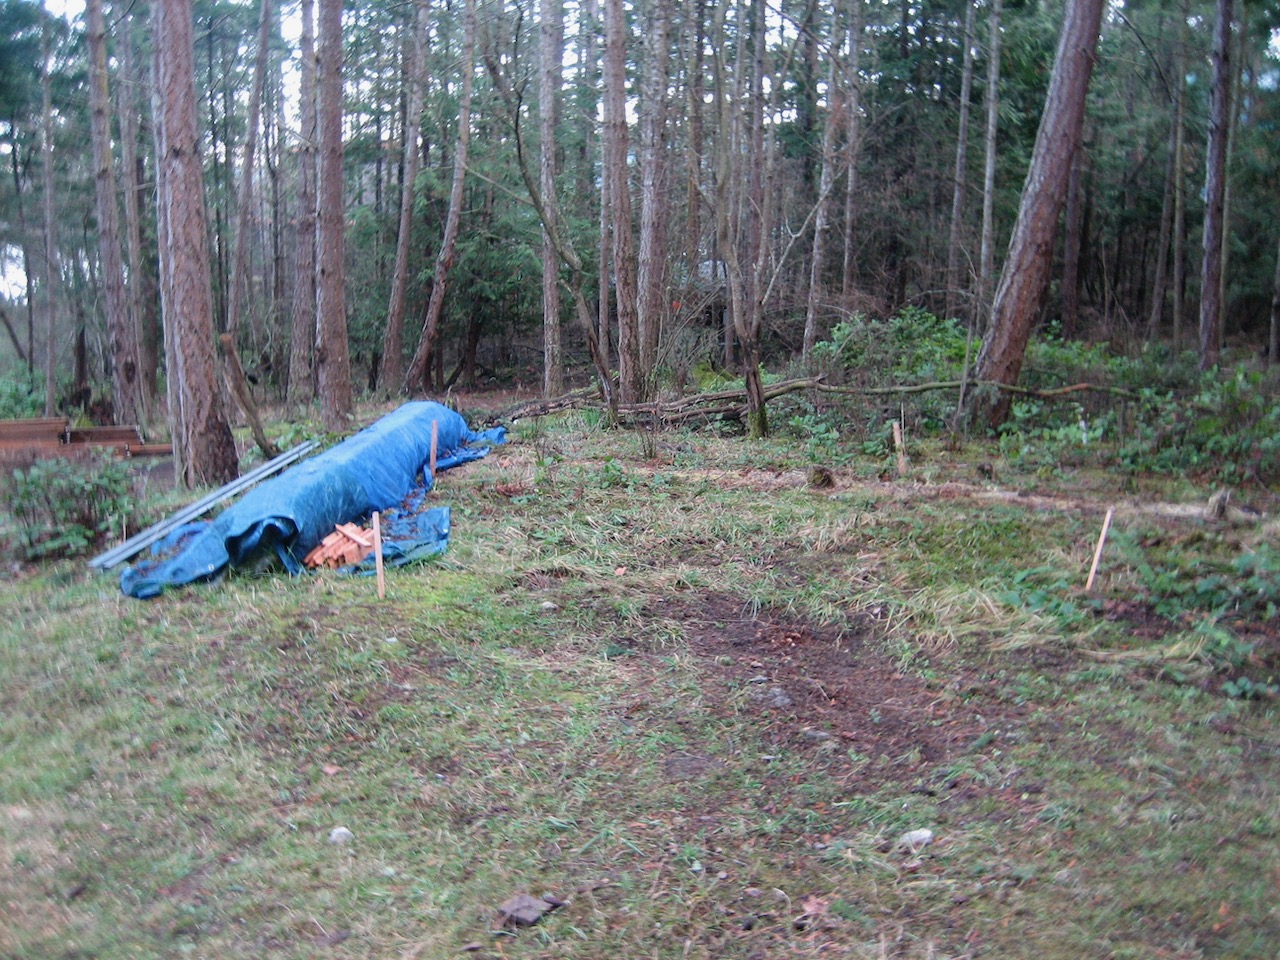
The original owner/builder of our Crane house had stored extra cedar siding in the garage and I had moved it outside about a 100’ away, wrapped in plastic sheeting and set on blocks to keep it off the ground. I considered the smooth, beautiful clear cedar siding a gift. I would design and build the sheds using the siding, matching them to the exterior of the house.
The San Juan County building code would let me build a 400 square foot structure without a permit provided it wasn’t for habitable use and didn’t require plumbing or electrical work. Rather than build one big shed, Yvonne was clear she wanted her own shed, not share one with me – so I would build two, each about 200 square feet. The yard had a free-standing electrical outlet we could run extension cords from when we needed power in the sheds.
We wanted the sheds to be at the back of the lot just before it headed up hill. I didn’t want to have to do much if any excavation. The site had some big, beautiful, healthy, second growth Western Red cedar and Douglas fir we wouldn’t disturb. Yvonne wanted the sheds to be set at an angle to each other, not in a straight line. The septic drain field was in the vicinity and that constrained our siting. We also wanted a fire pit area that would work with the sheds and drain field. It was complicated. We had to do and redo our staking before we could make the siting work.
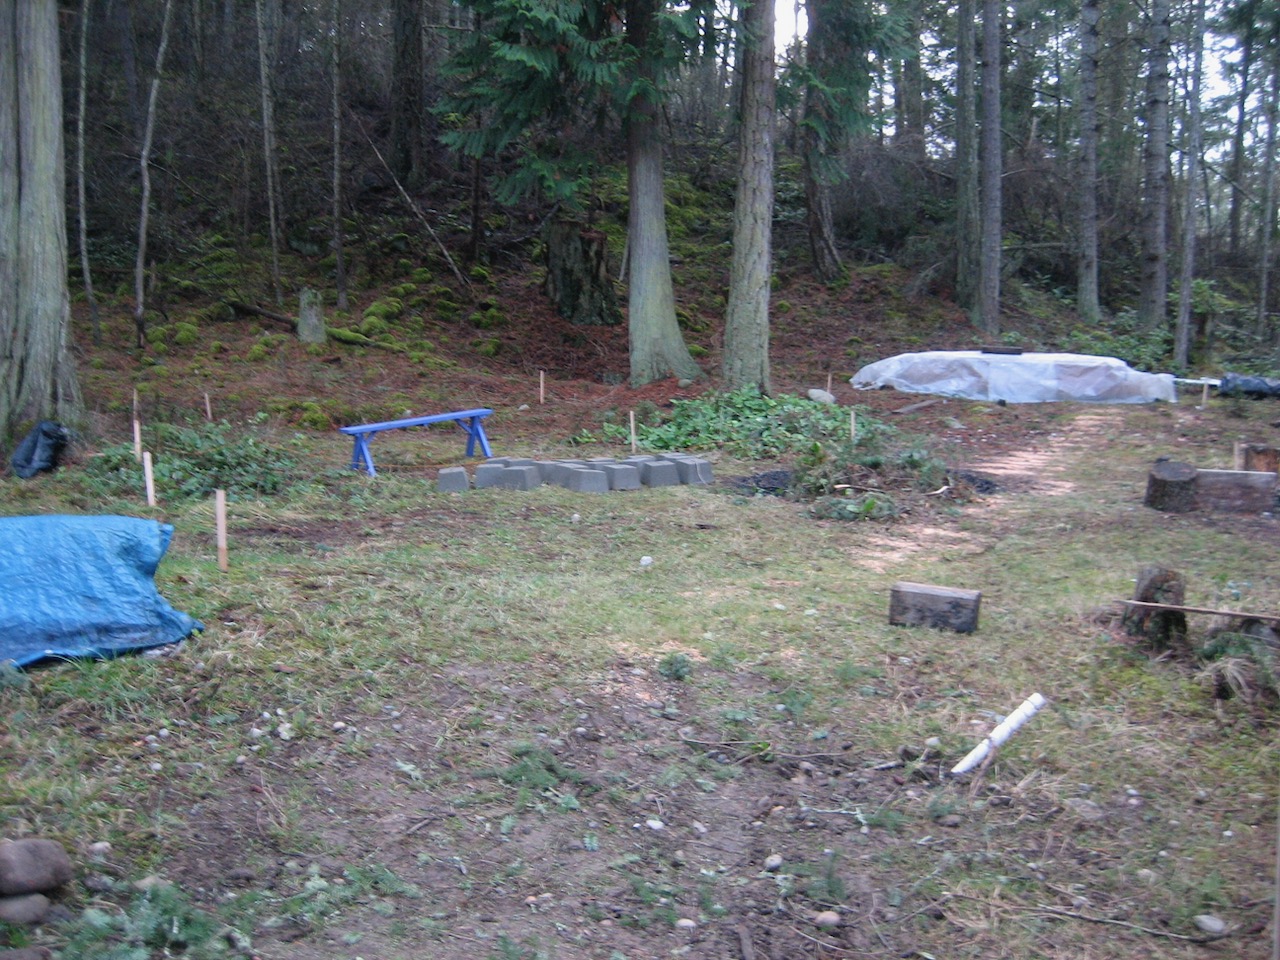
The Crane Island Homeowners Association CC&Rs (Covenants, Conditions, and Restrictions) required building committee approval for any new projects so I drew a lot plan and some elevations, walked the committee around the site, and got approval.
We knew we wanted two sheds. We knew where we wanted them. We had some siding. But we didn’t know what the sheds should look like, how they should be constructed, or what materials we’d need.
Yvonne had in mind sliding barn doors that could close over eight foot openings. Because the site was shaded and we wouldn’t (generally) have electricity I wanted as much natural light as possible to come into the sheds. I wasn’t going to put in a concrete foundation so I wanted the sheds off the ground so the northwest climate wouldn’t compromise them over time.
Building supplies come in standard shapes and sizes and I wanted to pay attention to those constraints, using the least amount of materials possible while optimizing the material I already had (siding). After a little thinking it seemed to me sheds 16’ across by 12’ (192 sq ft) deep made sense. The doorway could be 8’ wide, covered by two sliding 4’ panels. We could slide the panels out of the way to cover the 4’ wide walls on each side of the doorway.
I measured and calculated what excavating I would need to do, how high the front of each shed would be from the ground and how far from the trees and the septic fields. A 16’ by 12’ footprint would work. Yvonne approved. But what would the sheds look like?
Our house was built in a Northwest style; open, with beams and vaulted fir ceilings, skylights and floor-to-ceiling windows. It was bright and airy with a sense of lightness rather than rock-like solidity. Even of cloudy days the house was never oppressive, never felt like a cave or hideaway from the natural world. Though the house might be there for centuries it knew it was temporary, just like the cedars, firs, and madrone covering the island. One school of thought is to over-build. I wanted to appropriately-build. I wanted the sheds to look light, not heavy and clumsy.
The previous owners had built an outhouse on the lot, an amenity they used when camping there in the years before building. We had moved the outhouse farther from the water and out of view of the house and we had limed and filled the pit. The outhouse had a translucent, corrugated fiberglass roof. Translucent was a good idea but fiberglass turned out not to be. It was cracking and would fail in a few years.
I’d seen corrugated polycarbonate panels at Home Depot and they looked promising. I knew something about polycarbonate from the early days of CD-ROM when my partners and I distributed a reference library on disc. Polycarbonate was very tough, wasn’t subject to cracking, and was resistant to ultraviolet damage.
What about the structure of the sheds? Typically houses are built on foundations, the floor first and then walls built on top of the floor. But there’s another way; post and beam construction. Vertical posts set on piers and horizontal beams between posts provide a skeleton on which to hang the body of the house. Post and beam allows large open areas inside. I decided to try it.
Post and beam made sense for another structure Yvonne wanted nearby: a rain shelter under which we could store our wood chipper, outdoor tables, and use in a pinch for a visitor tent site.
Besides the two sheds and rain shelter, we wanted to put a wooden deck down on top of the concrete pad outside our converted garage-now studio and build raised beds on the perimeter for Yvonne’s vegetable garden. We’d fill the raised beds with top soil and mulch. Our order was multiplying and would fill a flat bed truck.
I put together a bill of materials, crossed Pole Pass in our SeaSport, Hugin, docked at the Crane community dock on Orcas and drove to Island Hardware and Supply. They’d done a great job assembling and delivering the materials we needed for our garage-to-studio remodel. They had much of what I needed in stock and would pick up the rest when they made their regular Thursday run to the mainland. They could have our order ready to deliver Friday morning. But they’d need barge transportation to Crane Island.

I called Gary Sale, our Crane Island water system manager and barge services supplier (Mud Bay Barge and Freight) about scheduling his converted landing craft. He said tides were favorable and would be high in the morning. Gary could make the trip. By 10:00 a.m. February 15th the Island Hardware delivery truck was backing down our steep driveway.
The driver backed close to the garden gate and concrete pad, soon to be wooden deck, raised the front end of the bed while driving forward slowly and the bundles of material slid off and settled on the ground. Nothing broke.
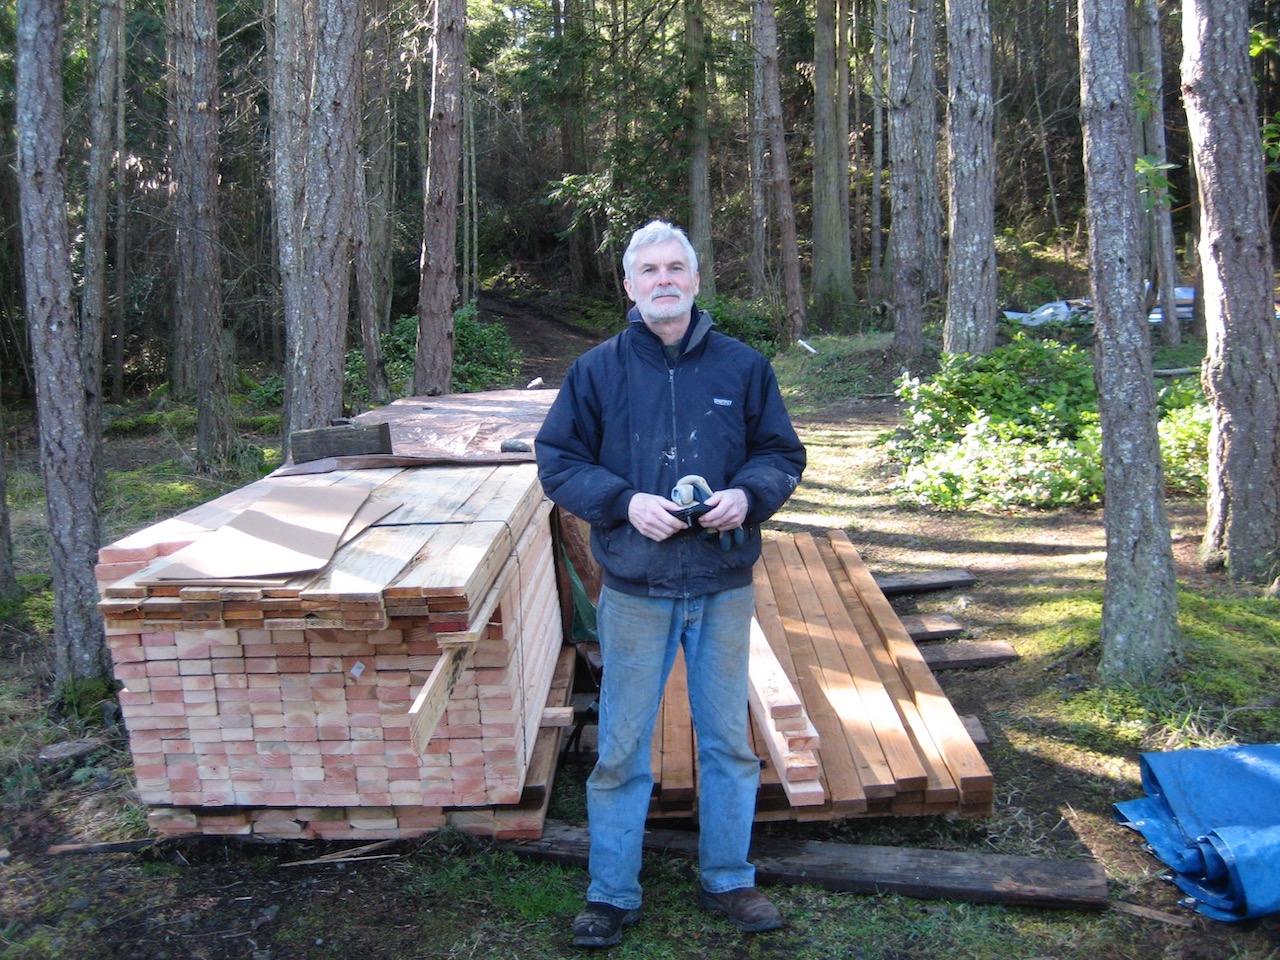
We cut the straps holding various bundles together and stacked the contents close to where we would use it. Raised bed fill bags close, decking farther back, posts and beams, piers and concrete at the rear.
First we’d work on the raised beds, then the rain shelter, two sheds, and decking. Because we would be doing some traveling the project lasted a few months. We liked the results.
See Two Sheds and a Rain Shelter in the Trees: Part 2
© 2020, johnashenhurst. All rights reserved.